File Copying/Harddrive Setup
- Copying Source Files onto a Hard Disk
- Deleting Source Files and Directories
- Deleting Windows Applications
Useful Code Snippets and Macros Introduction to Electronics

File Copying/Harddrive Setup
As I have suggested in the book's text, you should spend a few minutes going through the the html "pages" contained on the CD-ROM to familiarize yourself with the material and features that are in this book. Once you are comfortable what is on the CD-ROM, I suggest you follow the steps listed here for installing the tools and applications onto your PC/Workstation. If you are working with a Windows/NT or Windows/2000 PC, you will need "Administrator" access to carry out the requested actions.
- The first order of business is to install a software development system. In Development Tools, I have included three different development tools that you can use. For Microosft "Windows" users, I recommend installing the MPLAB Integrated Development Environment which can be installed by clicking Here. When MPLAB installs, it will ask you to specify the options you are going to be working with. You may want to just install them "all" for simplicity. For MPLINK, I recommend creating the "lkr" subdirectory to avoid making the "MPLAB" subdirectory too complex with too many confusing part number files.
- Windows Users should next install "Port95NT" software which will give you I/O port access. This access is required to use the El Cheapo programmer with your PC and will load the correct drivers for NT or Windows/95/98 software as appropriate. The PORT95.exe application can be distributed, but it cannot be modified in any way.
- Next, you should install and enable your programmer software. If you are using a PICSTART Plus programmer or other Micrchip tool, then the appropriate drivers will have been automatically installed when you installed the MPLAB IDE. For people using the El Cheapo, click Here to look at installing the software and testing/assembling the application.
- Last, the source files should be loaded onto your PC's hardfile. These files should be installed into a "PICmicro" directory. Click Here to automatically install the application code onto your "C:" drive. If you want to install the files onto another drive, or are reinstalling the source files, look Here for instructions to copy them manually.
Once you have the development tools installed, the programmer enabled and software installed and the application code copied onto your hardfile, you can now start working through the Experiments presented in this book.
Copying Source Files onto a Hard Disk
If you cannot use the install.exe utility for copying the sounce files because you want to install the files on a drive other than "C:" in Microsoft "Windows", they you should use the following instructions. If you are working with another operating system, then you should follow a similar procedure to copy the files onto your system's hard disk with the application code kept in the same subdirectories or "folders" as shown in this book to remain compatible with the Experiments and Projects text.
-
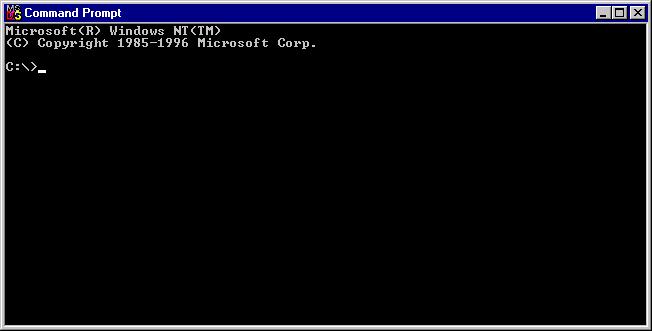
First start up an "MS-DOS Prompt" Window and make sure the current directory is the "root" (using the "cd\" command) as shown in the screen shot below. The PC that I have used for creating these screen shots only has a "C:" drive, so these instructions should be followed with the "C:" in the screen shots replaced with whatever drive you want to use.
-
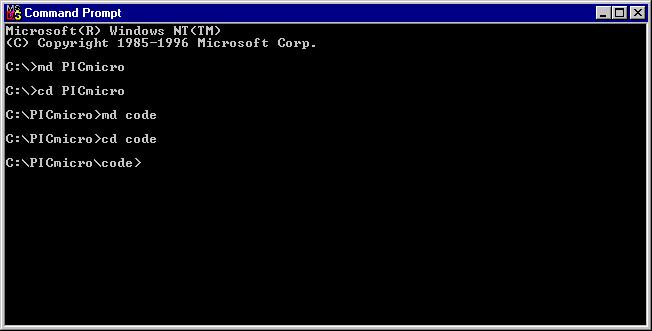
Next create the "PICmicro\code" directory using the "md \PICmicro" command followed by the "cd PICmicro", "md code" and "cd code" commands as shown below. This will make "PICmicro\code" the active directory and ready for loading in of the source files from the CD-ROM.
-
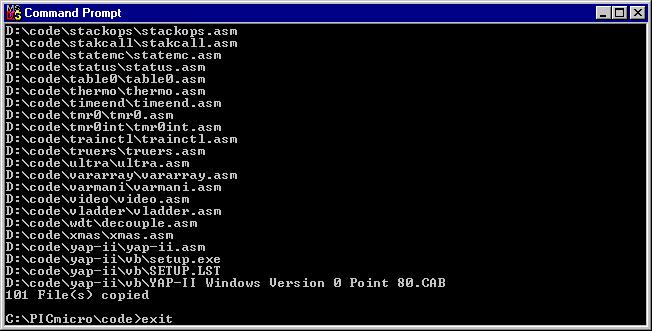
Now, the files can be copied into the PICmicro directory. This is accomplished by using the "xcopy d:\code\*.* /s" command where "d" is the CD-ROM drive. In the PC that I was using to create this page, the CD-ROM was the "D" drive.

-
After the directories have have been setup and the source files copied in the "MS-DOS Prompt" dialog box can be closed by either clicking on the "X" in the top right hand corner of the dialog box or by entering the "exit" command as shown below. Note that the "101 file(s) copied" message will be different for you because when these screen shots were made, not all of the applications were available for use on the hard disk. The "exit" command is preferable because in some versions of Windows 95/98, the "MS-DOS Prompt" cannot be closed by clicking on the "X" in the top right hand corner. Once the "MS-DOS Prompt" is closed, you can begin to work through the Experiments and Projects.
Deleting Source Files and Directories
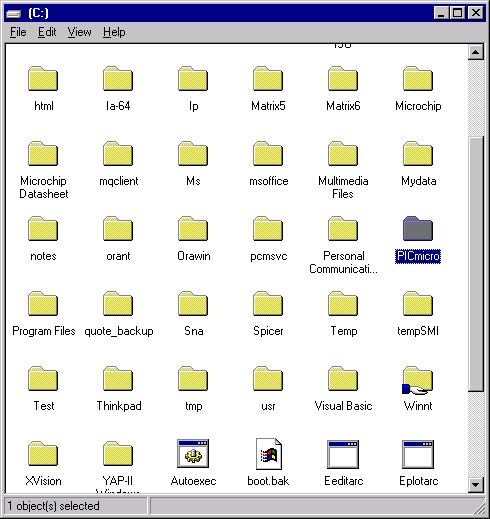
When you have finished with the book or want to "reset" the subdirectories for another user to work through the code, I recommend that you use the "My Computer" interface to find the "PICmicro" directory as shown in the screenshot below. When the directory is found click on it so that the directory name is highlighted:
Next, press the "Delete" key on your keyboard. Windows will respond with:
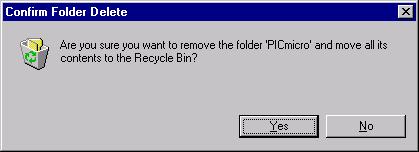
Click on "Yes" and "Yes" to any requests for deleting "Programs". When you have finished, the "Recycle Bin" contains the subdirectory and all the files (just in case you deleted the wrong file inadvertantly). You can "remove" all the files in the "Recycle Bin" at your leisure.
Deleting Windows Applications
Windows applications cannot be simply "deleted" using the process outlined in the previous section. Instead, they have to be "deinstalled". The procedures that I recommend for removing the applications (and any other files that were associated with them) is listed here. These applications include, the MPLAB IDE, UMPS and the Windows (Visual Basic) programs that are installed from the CD-ROM.
The first step is to "click" on "Start", followed by "Settings" and then "Control Panel". This will bring up the PC's operational control folder as shown in the screen shot below:
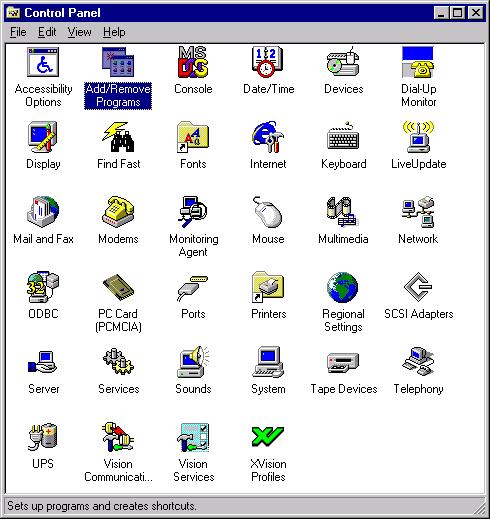
Double Click on "Add/Remove Programs" (which is highlighted in the screen shot above) to bring up the dialog box shown below:
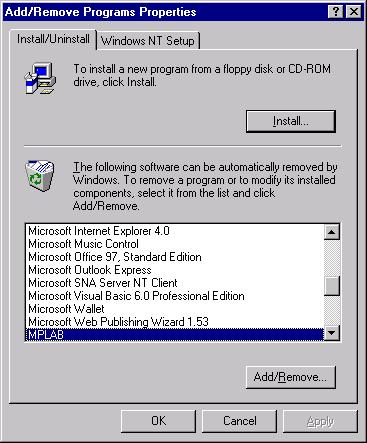
In the "Add/Remove Programs Properties", select the application to delete and then click on "Add/Remove". Follow the instructions for deleting the application. Note that new versions of the MPLAB IDE will delete previous versions, so this process is not required for upgrading to a new version of the MPLAB IDE.